
Image Credits
Before the Bible
Every photograph on the Before the Bible course page was taken by Megan Kraege during the course team’s own visits to museum collections. These are our own images of ancient Near Eastern artifacts, used by permission. None are third-party stock or Creative Commons photographs.
| Image | Work & Attribution | License | Where it appears | Why it’s included |
|---|---|---|---|---|
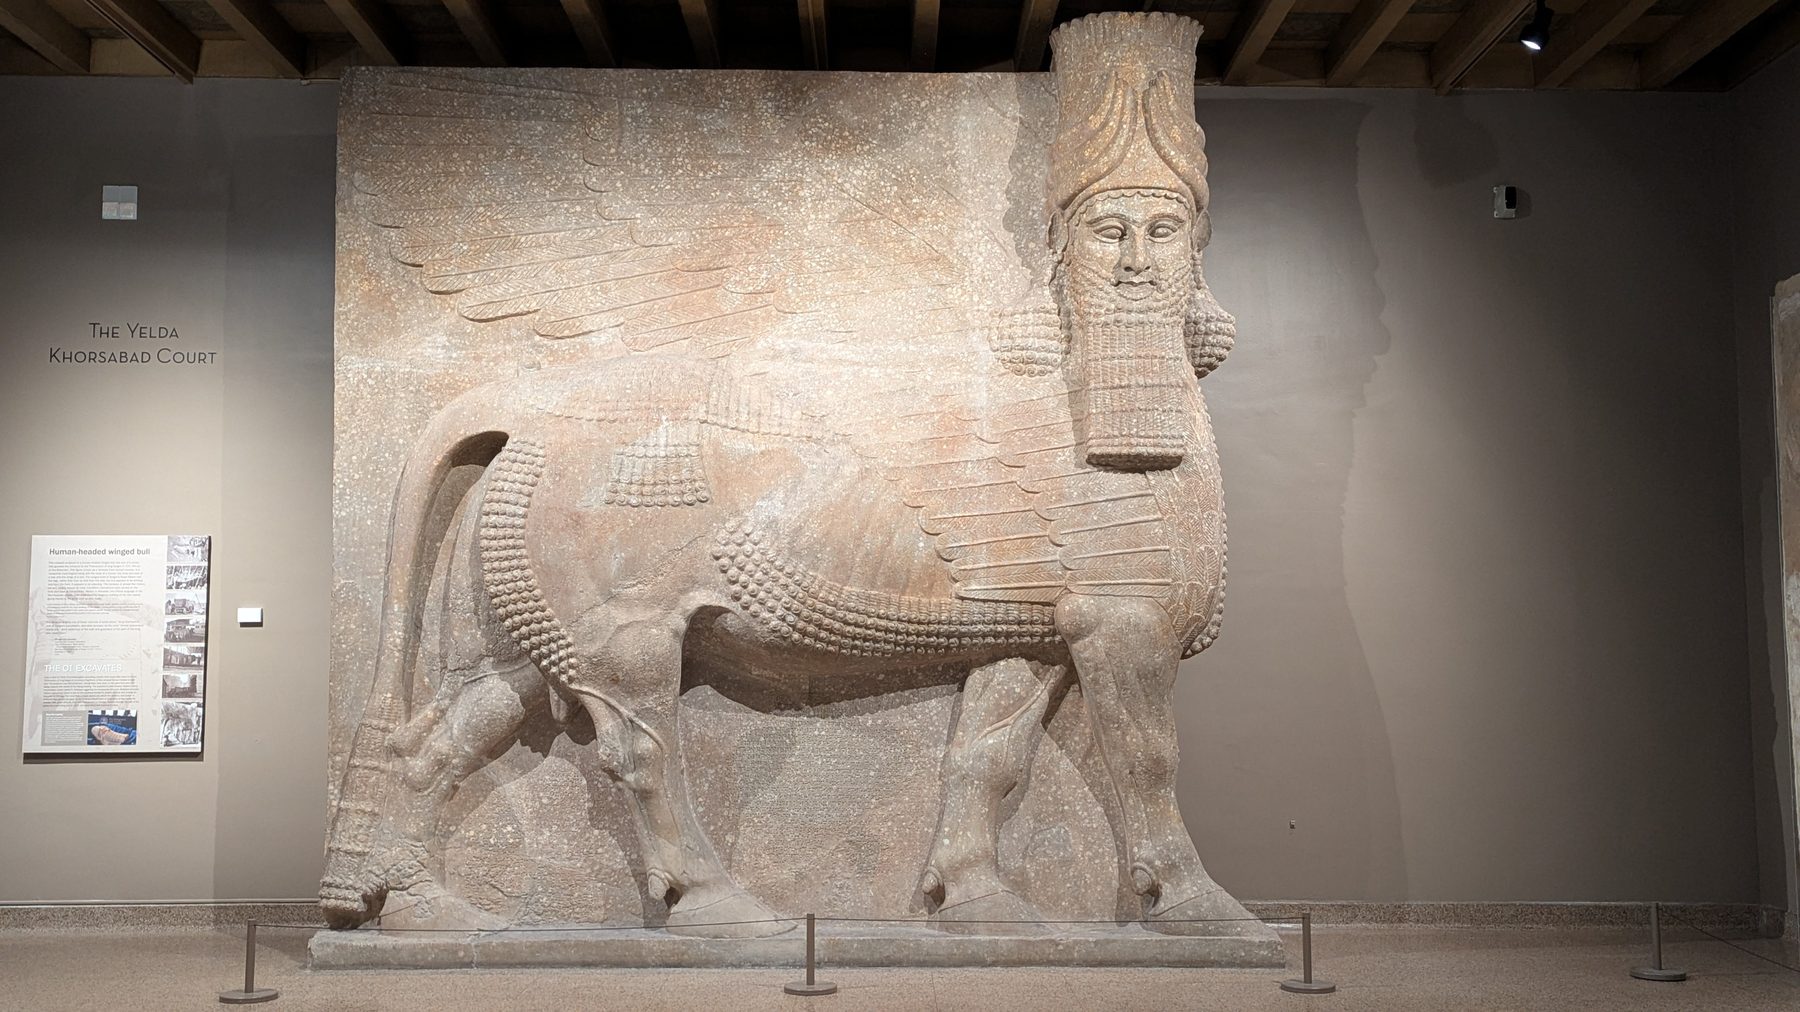 lamassu.jpg | Lamassu, human-headed winged bull Photo: Megan Kraege Neo-Assyrian, c. 900-700 BCE | In-house photograph | Hero background & instructor backdrop | The Assyrian guardian colossus sets the monumental tone of the hero. |
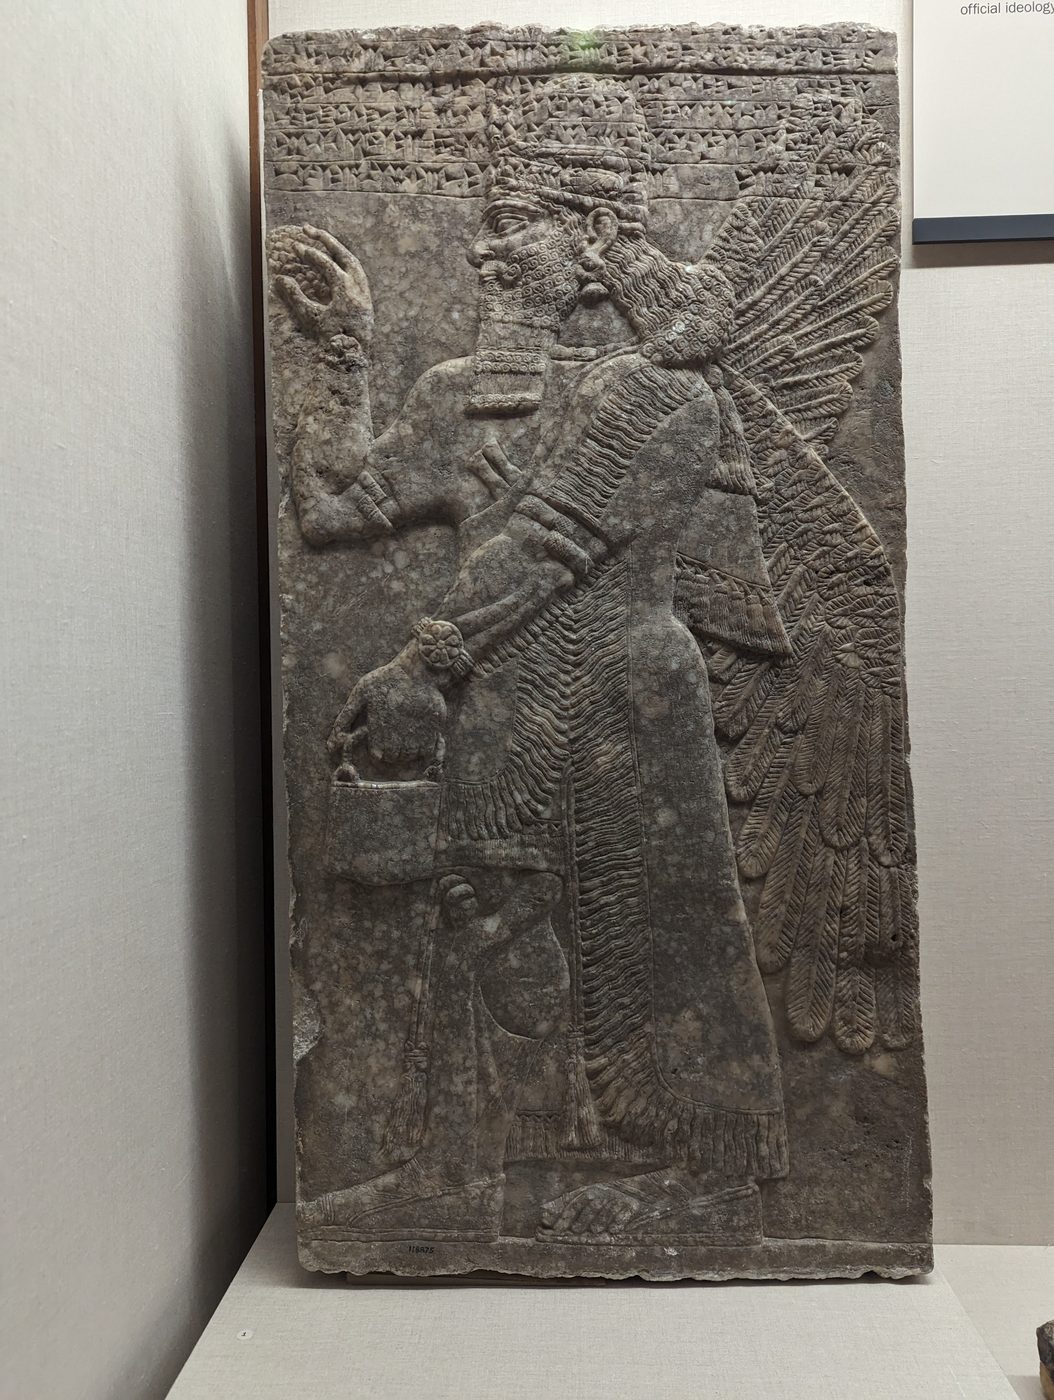 winged-genius.jpg | Apkallu (winged protective genius), Palace of Ashurnasirpal II Photo: Megan Kraege Kalhu, 883-859 BCE | In-house photograph | Hero artifact inset | A protective genius from an Assyrian throne room, the course’s signature artifact. |
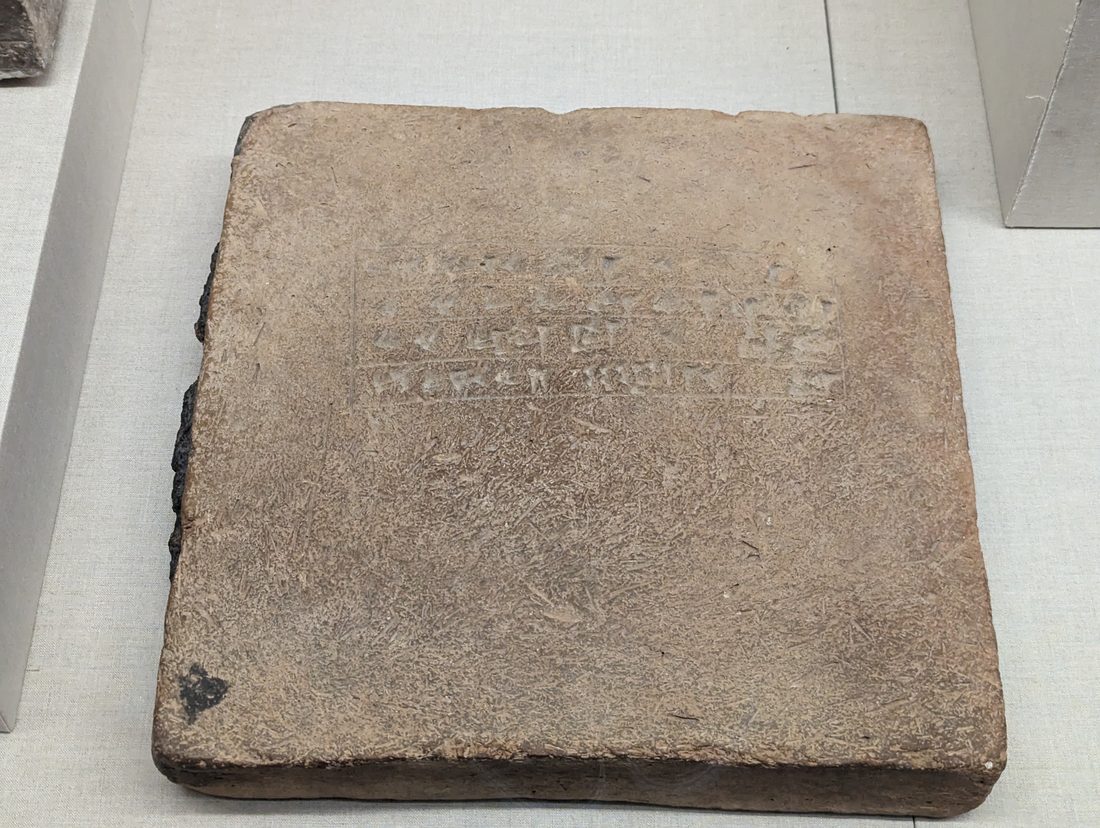 sumerian-brick.jpg | Inscribed Sumerian brick Photo: Megan Kraege Ancient Sumer, 3rd millennium BCE | In-house photograph | Hero ornament & Lecture I medallion | Early writing on clay, standing for the cradle-of-civilization lecture. |
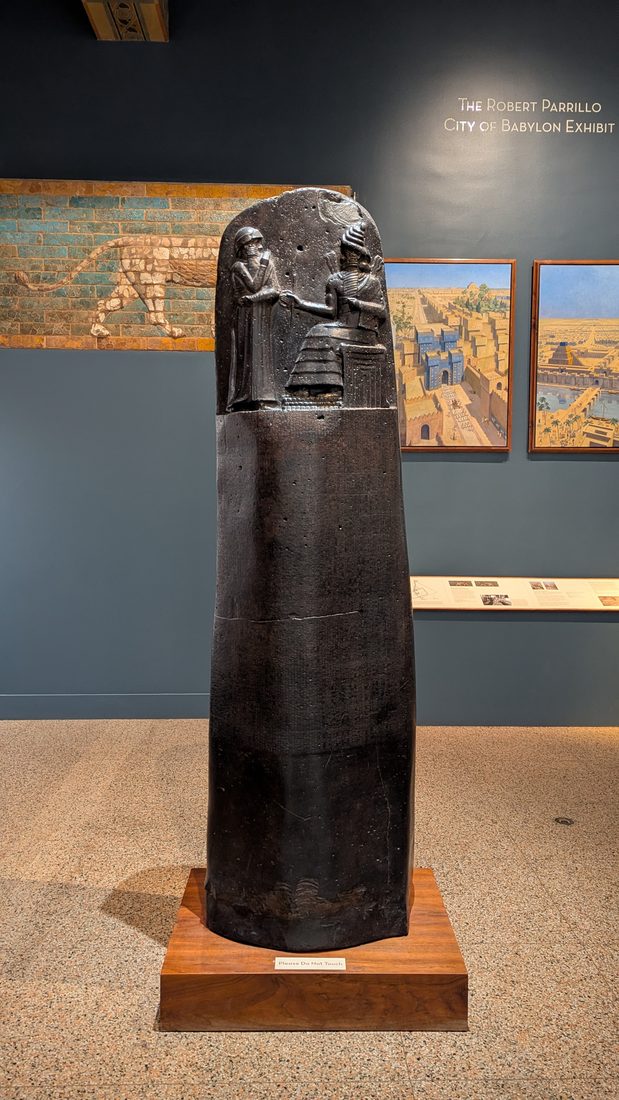 hammurabi-stele.jpg | Stele of Hammurabi (law code) Photo: Megan Kraege Old Babylonian, 18th century BCE | In-house photograph | Hero ornament & Lecture III medallion | The most famous ancient law code, anchoring the kings-and-laws lecture. |
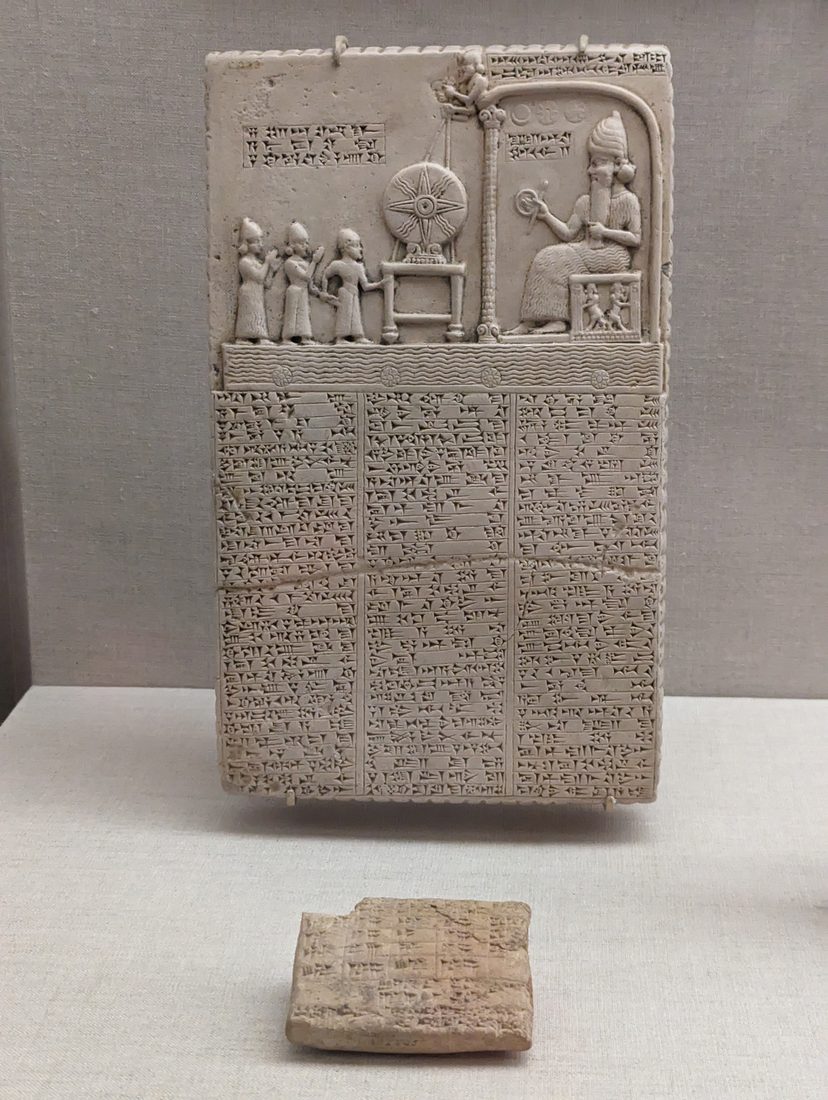 kudurru-stele.jpg | Kudurru (Babylonian boundary stone) Photo: Megan Kraege Babylonia, late 2nd millennium BCE | In-house photograph | Hero ornament & Lecture IV medallion | A Babylonian boundary stone, marking the echoes-in-scripture lecture. |
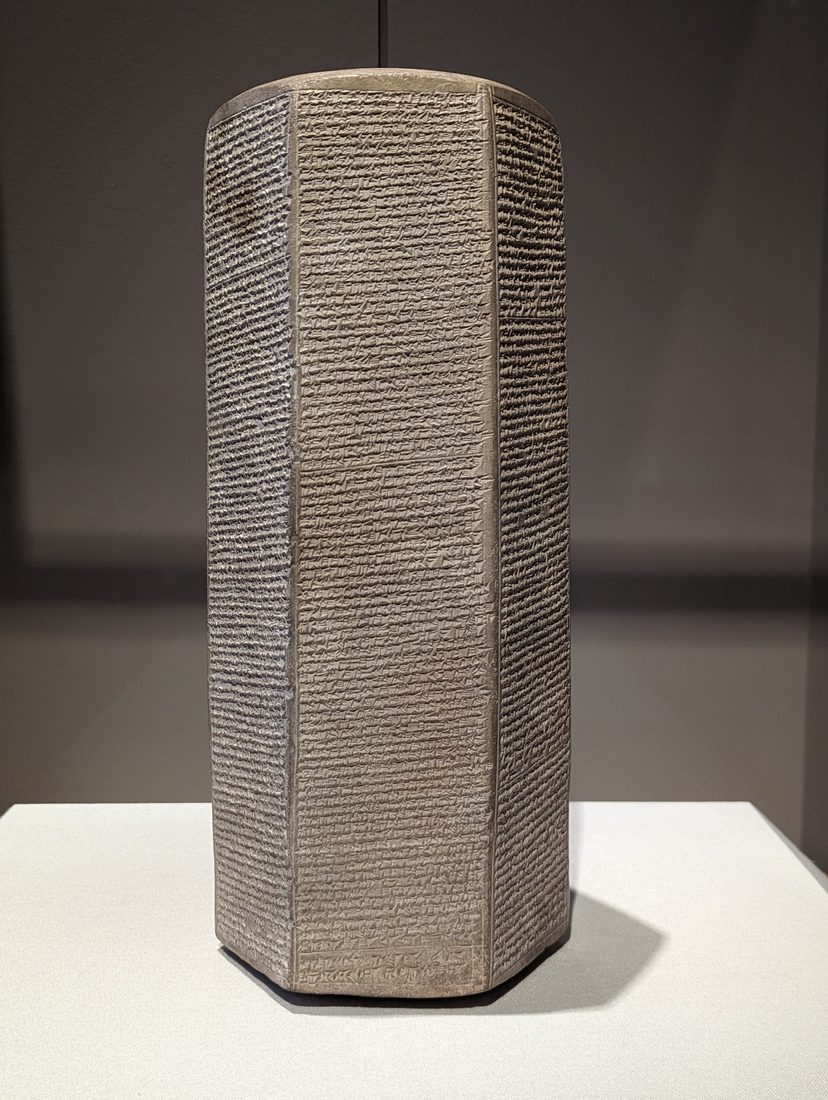 cuneiform-prism.jpg | Octagonal cuneiform prism, royal inscription Photo: Megan Kraege 1st millennium BCE | In-house photograph | Origin section plate | A royal inscription in cuneiform, opening the course’s origin section. |
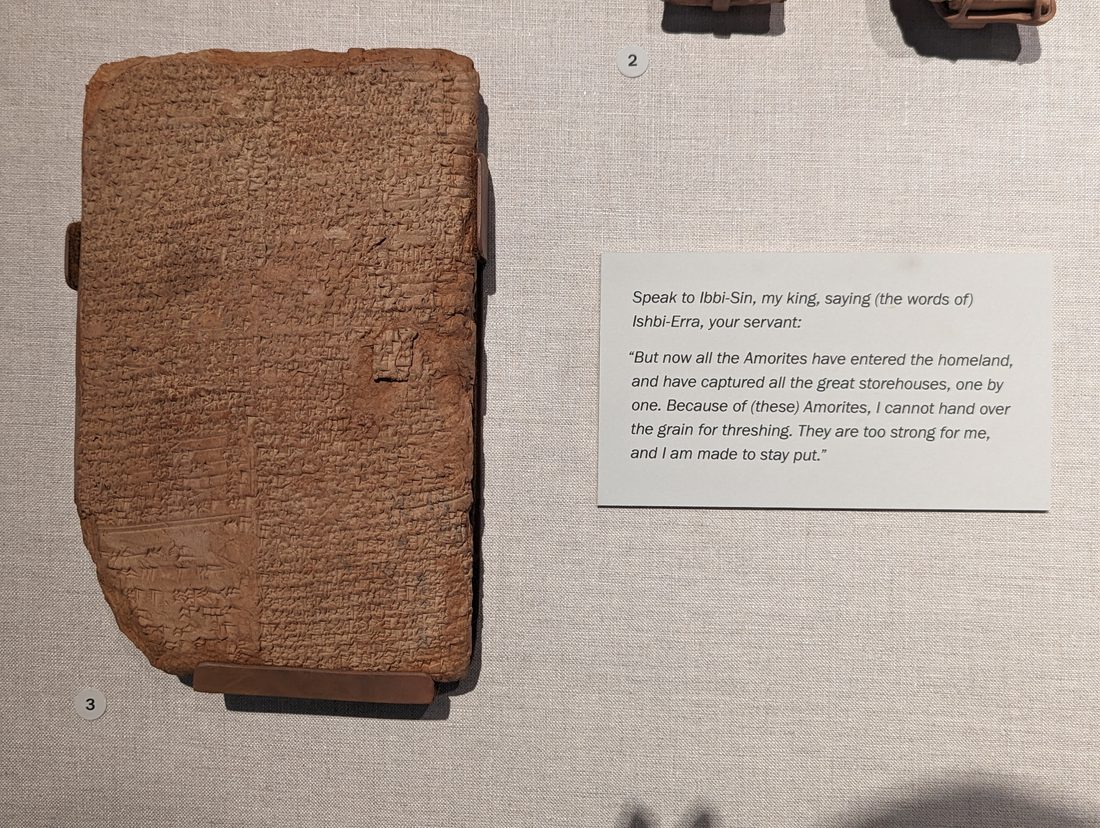 amorite-letter.jpg | Cuneiform letter on clay Photo: Megan Kraege 2nd millennium BCE | In-house photograph | Course-at-a-glance panel | An everyday cuneiform document, grounding the at-a-glance panel. |
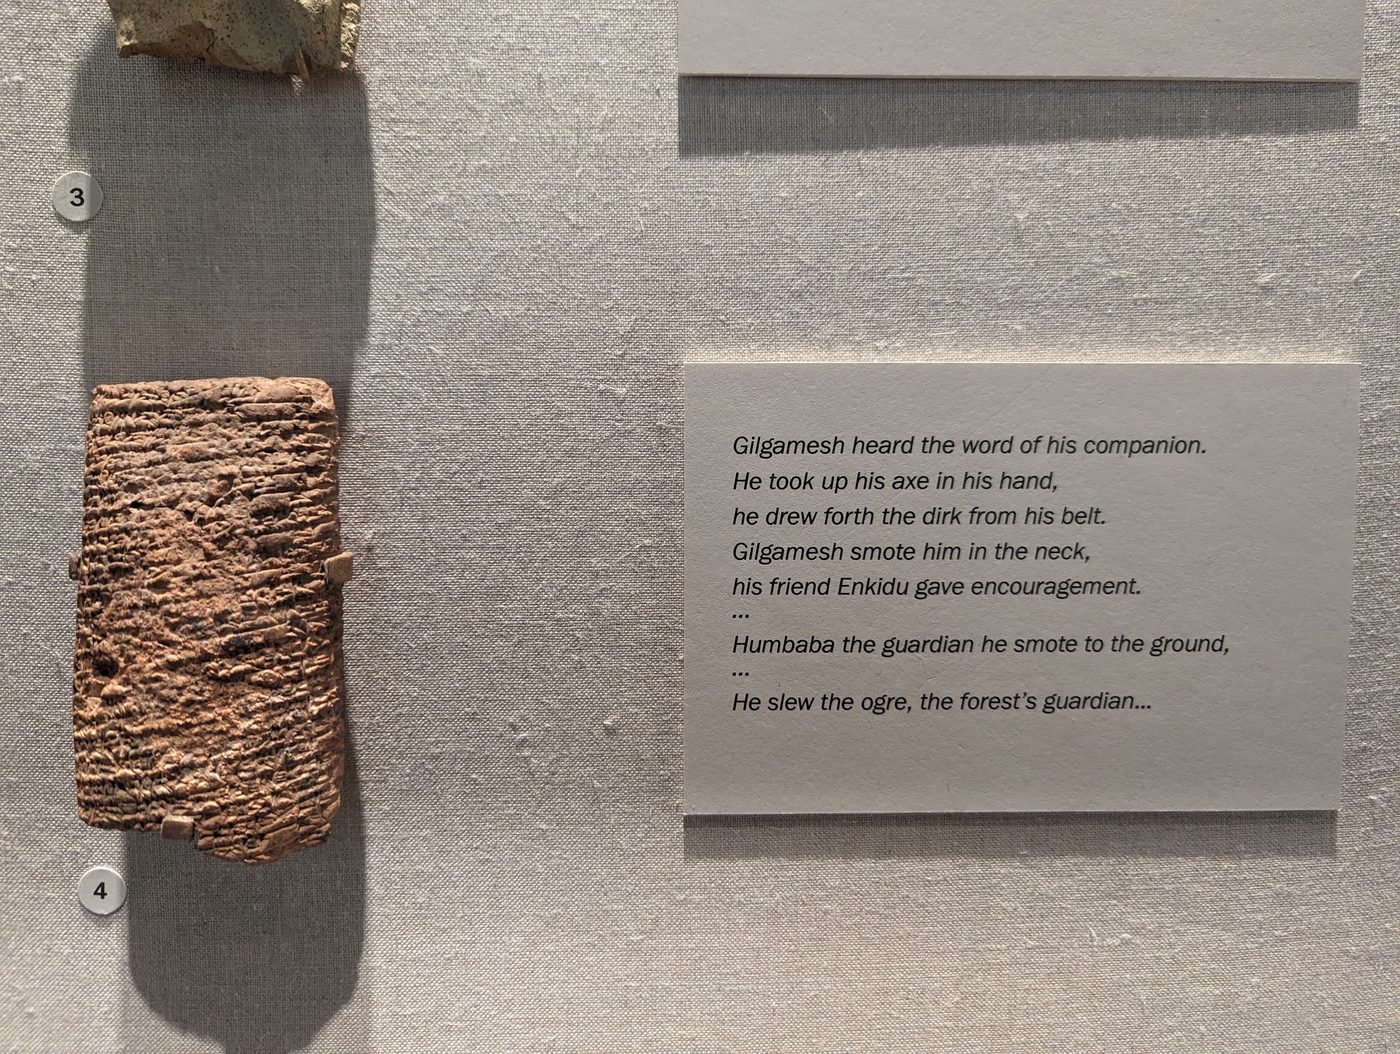 gilgamesh-tablet.jpg | Cuneiform tablet, Epic of Gilgamesh Photo: Megan Kraege Neo-Assyrian, 7th century BCE | In-house photograph | Lecture II medallion | A tablet of the Gilgamesh epic, the heart of the Gilgamesh-to-Genesis lecture. |
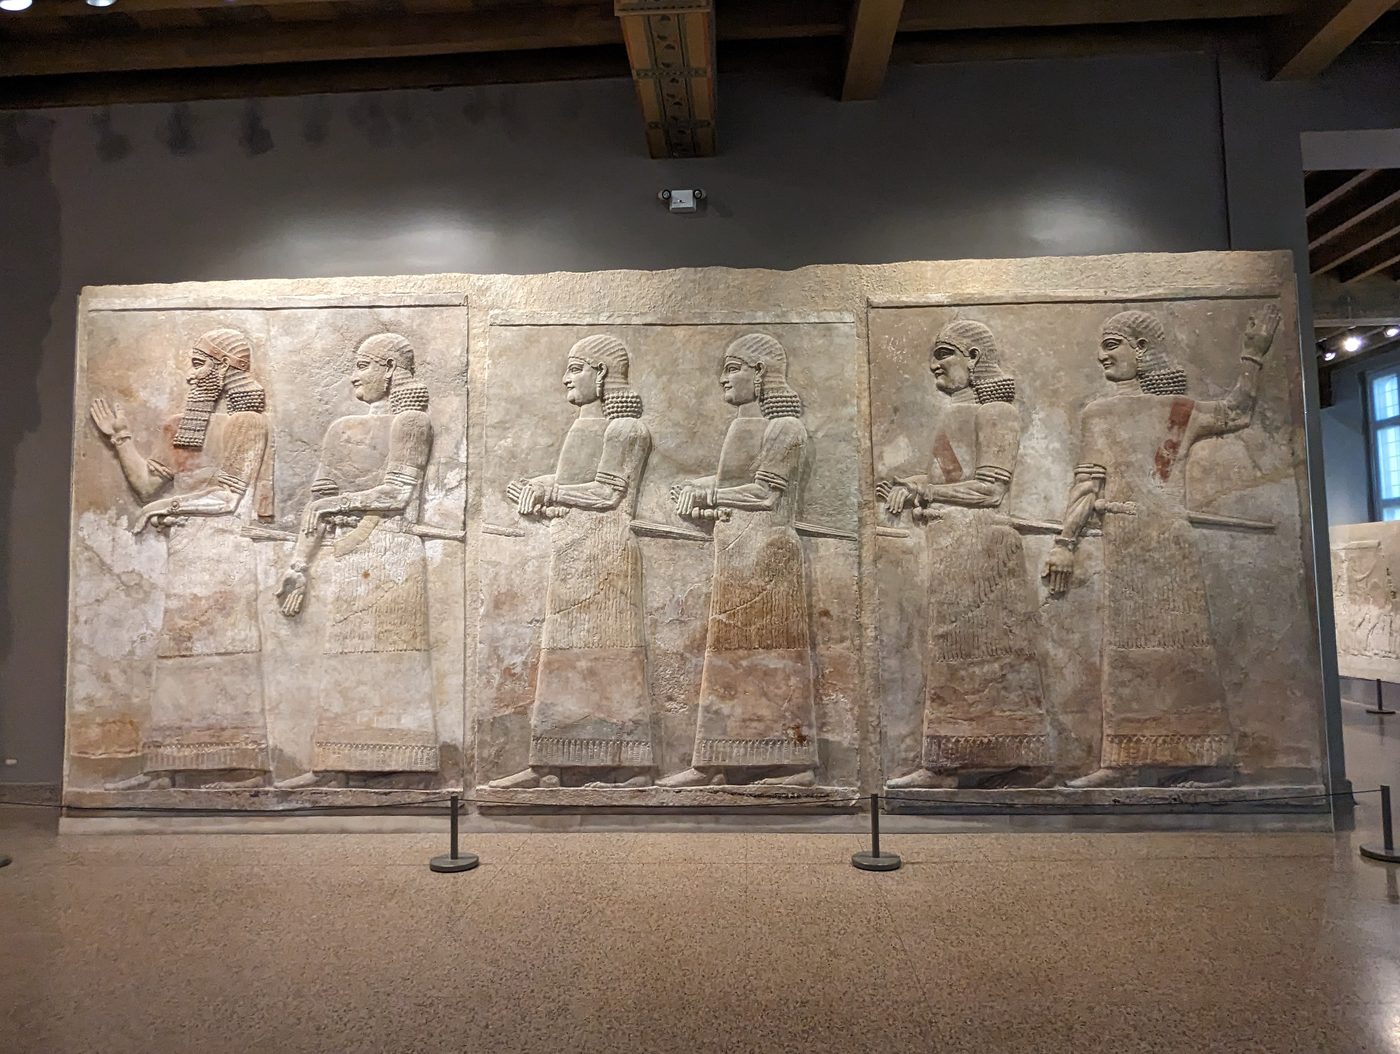 persian-procession.jpg | Achaemenid relief, procession of tribute-bearers Photo: Megan Kraege Achaemenid, 6th-5th century BCE | In-house photograph | Stats section backdrop | An imperial procession relief, framing the course’s scale statistics. |
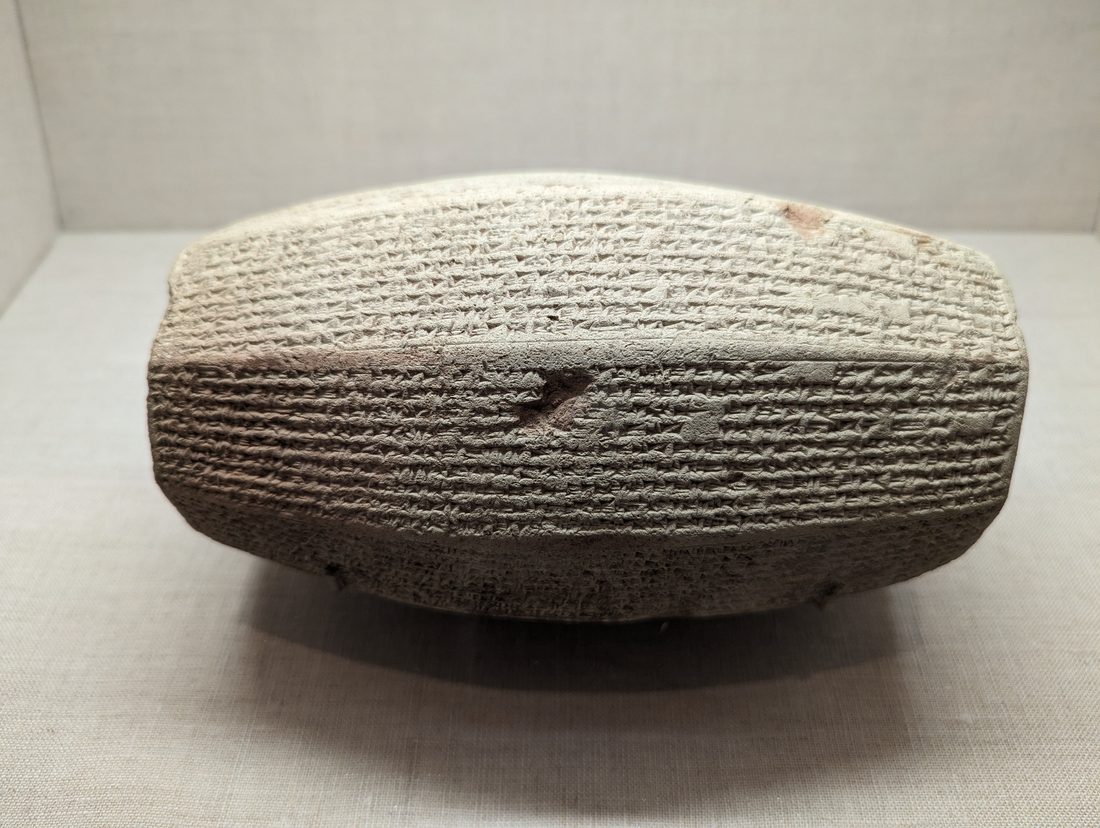 cuneiform-cylinder.jpg | Inscribed clay cylinder Photo: Megan Kraege 1st millennium BCE | In-house photograph | Highlights section art | An inscribed cylinder, illustrating the direct-from-the-sources promise. |
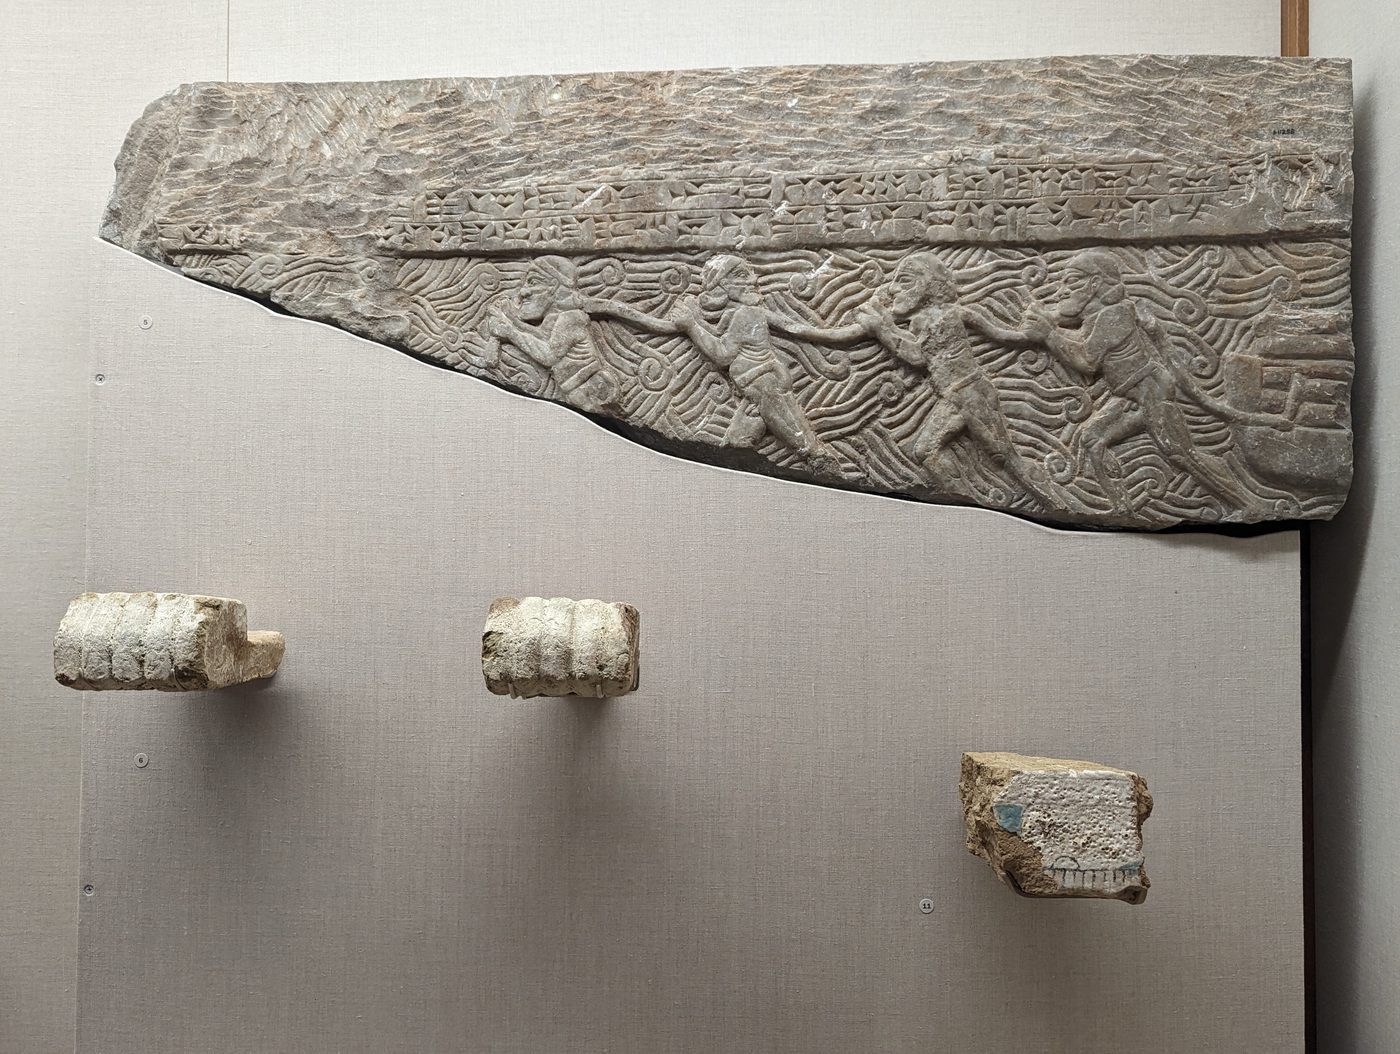 flood-relief.jpg | Carved Mesopotamian relief Photo: Megan Kraege Ancient Mesopotamia | In-house photograph | Highlights card (flood) | A carved relief paired with the flood-comparison highlight. |
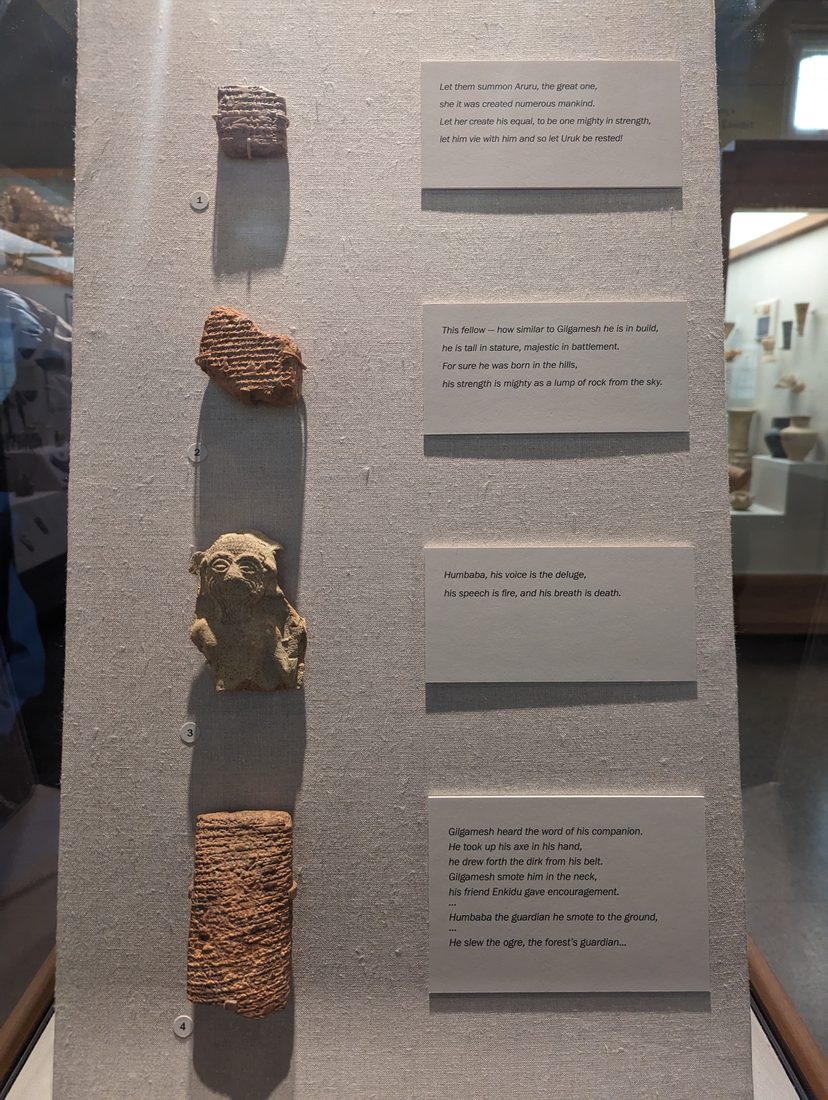 gilgamesh-exhibit.jpg | Mesopotamian antiquities, museum display Photo: Megan Kraege Ancient Near East | In-house photograph | Highlights card (ancient world) | A museum gallery of Mesopotamian objects, evoking the wider ancient world. |
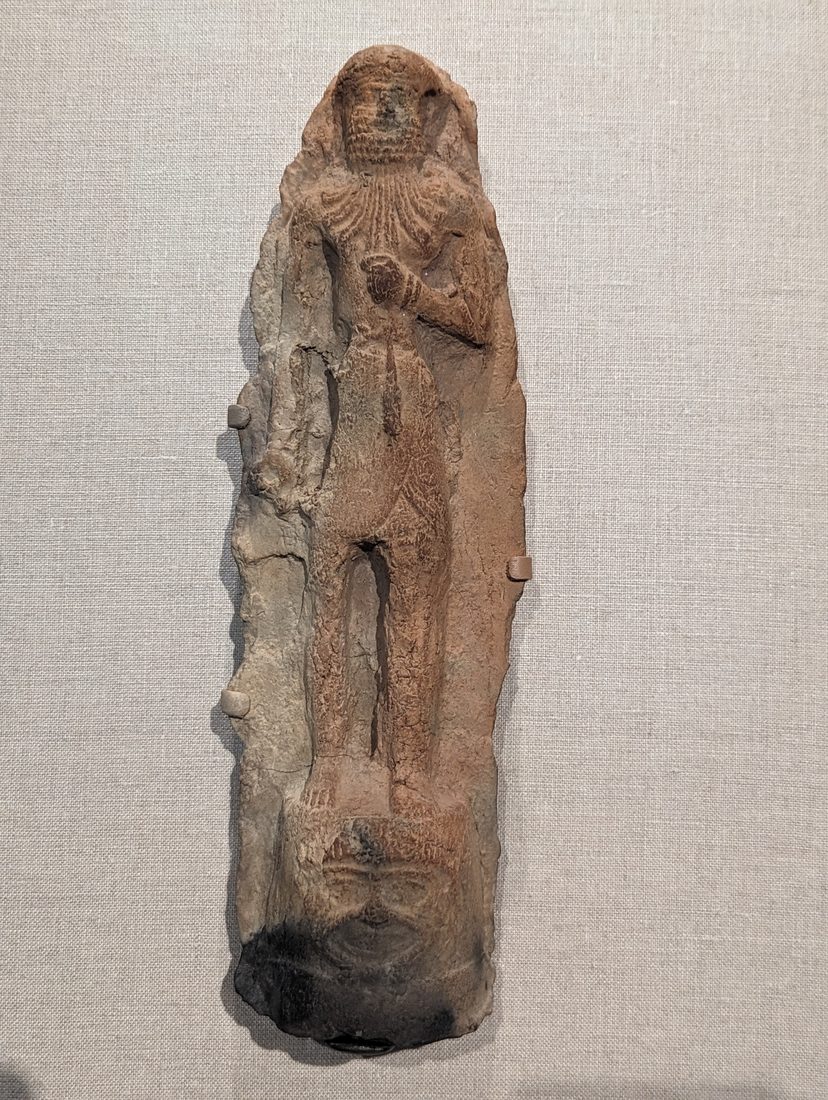 figurine-eroded.jpg | Weathered votive figurine Photo: Megan Kraege Ancient Near East | In-house photograph | Assumptions section art | A worn votive figure, suiting the assumptions-to-rethink section. |
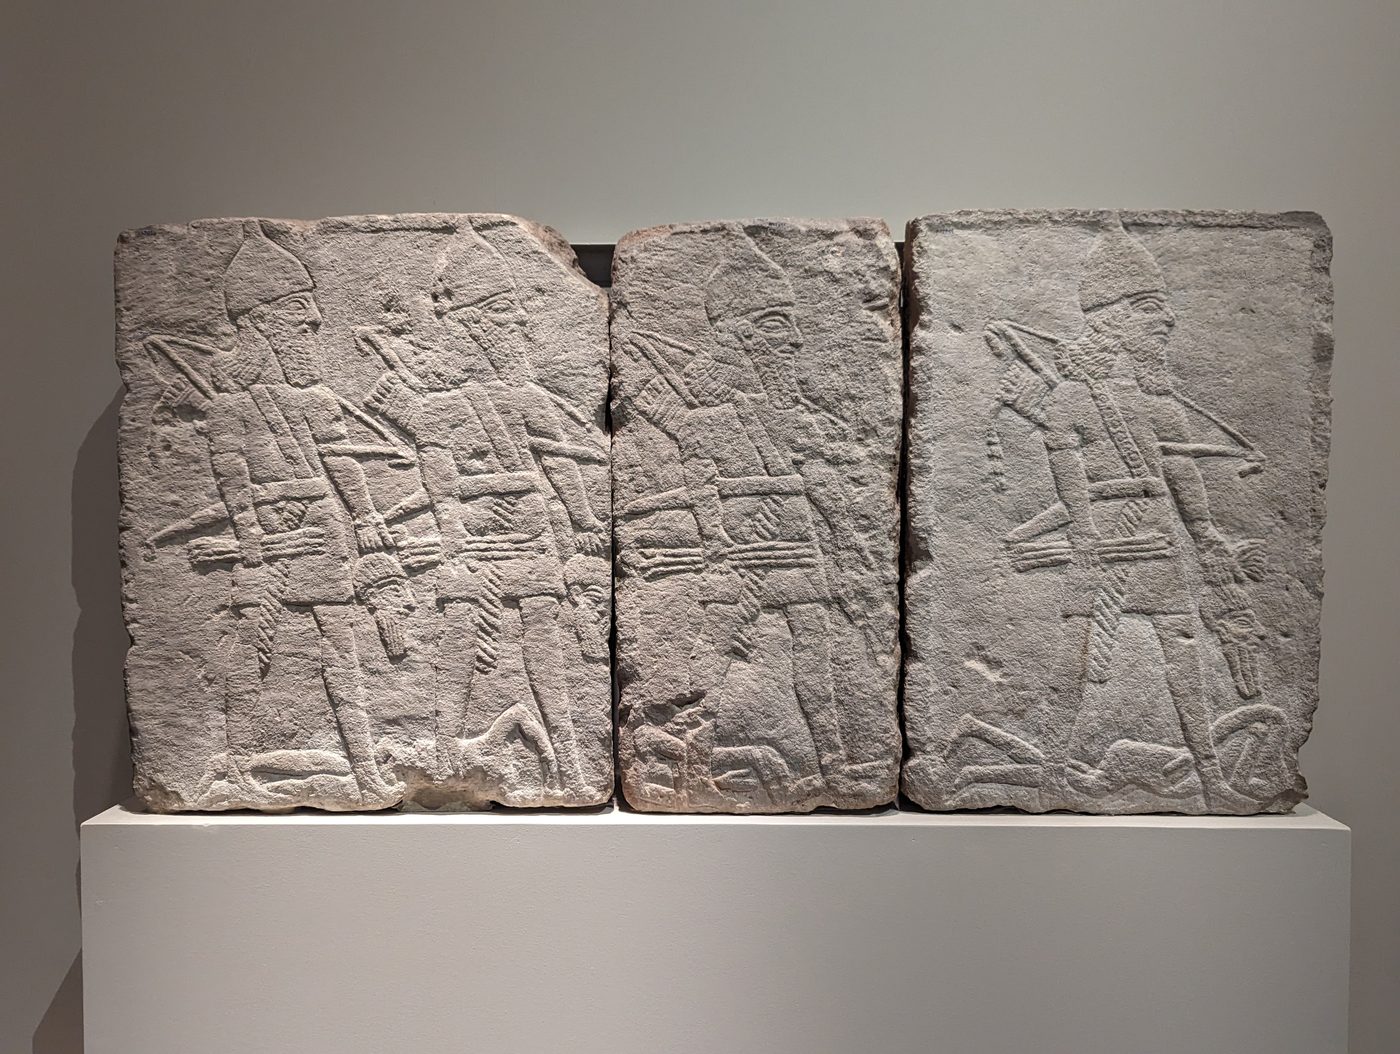 hittite-warriors.jpg | Hittite relief carving Photo: Megan Kraege 2nd millennium BCE | In-house photograph | Schedule section art | A Hittite carving, setting the stage for the lecture schedule. |
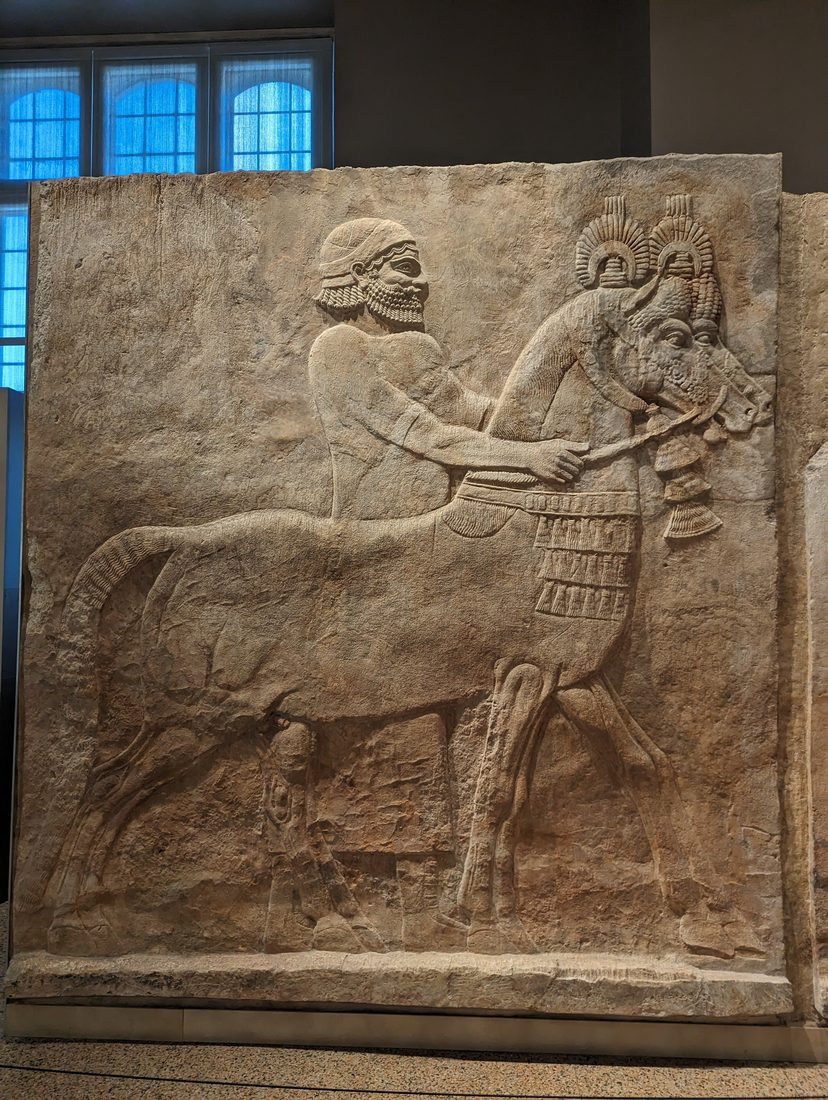 assyrian-rider.jpg | Assyrian palace relief, horseman Photo: Megan Kraege Neo-Assyrian, c. 900-700 BCE | In-house photograph | Bonuses section art | An Assyrian relief, accenting the included bonuses. |
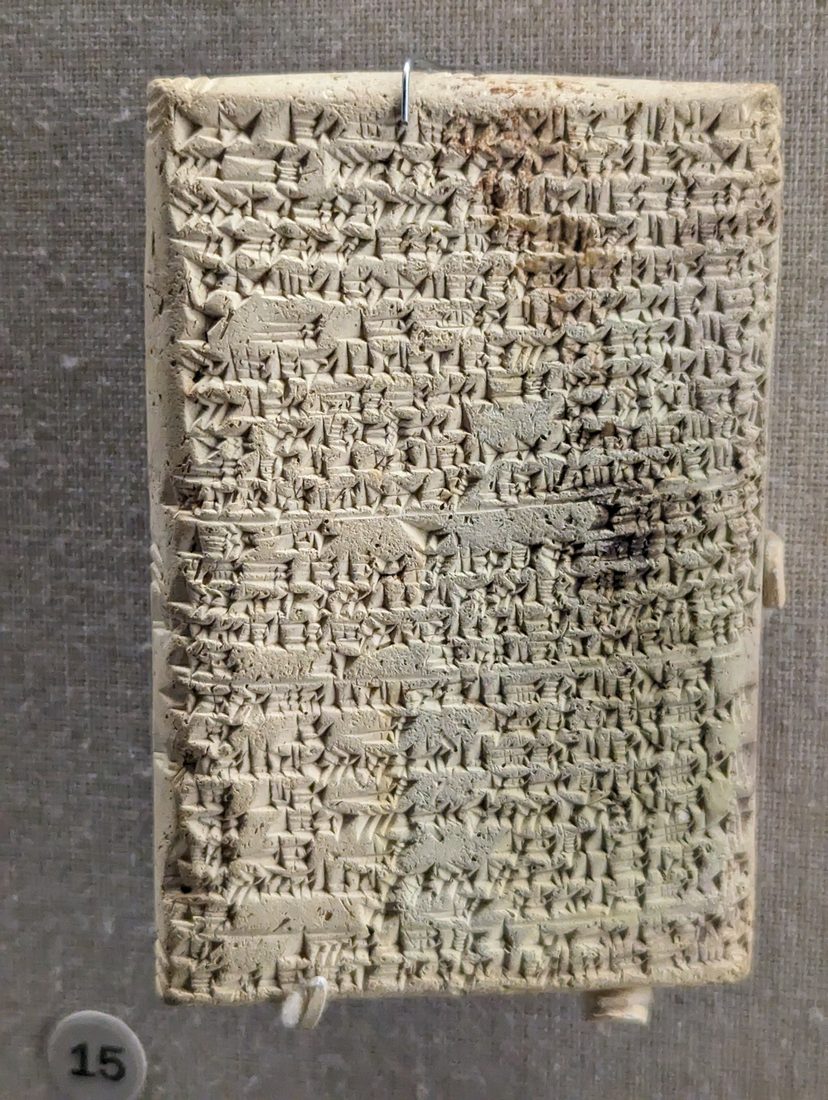 cuneiform-closeup.jpg | Cuneiform inscription (detail) Photo: Megan Kraege Ancient Mesopotamia | In-house photograph | FAQ section art | A close detail of cuneiform signs, closing the page at the FAQ. |
Every image above is the course team’s own photography, used by permission. None are third-party stock or Creative Commons images.